How the Custom Vending Machine Design Process Works
A custom vending project starts with a practical question: can the machine store, present, and deliver your actual products in the location where you want to sell them?
A good-looking rendering is useful, but it cannot answer that question on its own. Product samples, an agreed configuration, a clear software scope, and a plan for delivery all have to come together.
This guide explains the decisions to work through with DMVI™ and the information you should have at each stage. Treat it as a project checklist—not a promise that every order needs a ground-up build or follows the same production schedule.
1. Turn your idea into a usable product brief
Start with what customers will buy and how you expect them to shop. A machine selling boxed collectibles has different handling and presentation requirements from one selling bottled drinks or travel-size toiletries.
For each proposed product, gather:
- Packaged height, width, depth, and weight.
- Photographs and representative samples in the packaging you intend to sell.
- Any fragile surfaces, loose packaging, unusual shapes, or required dispensing orientation.
- Manufacturer storage requirements, including temperature limits where relevant.
- The number of product choices and desired stock quantity for each.
Keep product selections separate from total units held. A machine holding several units of each product does not necessarily offer that many different selections. Usable capacity depends on the package sizes and agreed shelf layout.
Also describe the customer journey. Is this a quick convenience purchase, a branded merchandise experience, or controlled access for authorized users? Features that change that journey should be discussed before the hardware configuration is settled.
What to have before moving on: a product list, sample plan, and short description of the intended transaction.
2. Document the location before choosing the cabinet
A machine has to fit both its operating position and the route used to get it there.
Record the proposed installation area, access doors, corridors, elevators, and any loading restrictions. Discuss power, connectivity, ventilation, door-opening space, restocking access, and the needs of customers using the machine. For a wall-mounted installation, suitable mounting and structural requirements need specific review.
Do not assume that an indoor machine becomes suitable for outdoor use because it sits beneath a canopy. The exact equipment and configuration must suit the installation environment. Refrigerated and frozen products also require equipment that meets their respective storage requirements; those categories are not interchangeable.
Venue approval and applicable accessibility, electrical, and other installation requirements should be addressed with the responsible property and qualified installation professionals.
What to have before moving on: site photographs, measurements, known constraints, and named responsibility for resolving any outstanding site work.
3. Choose the right level of customization
“Custom” can mean several different things:
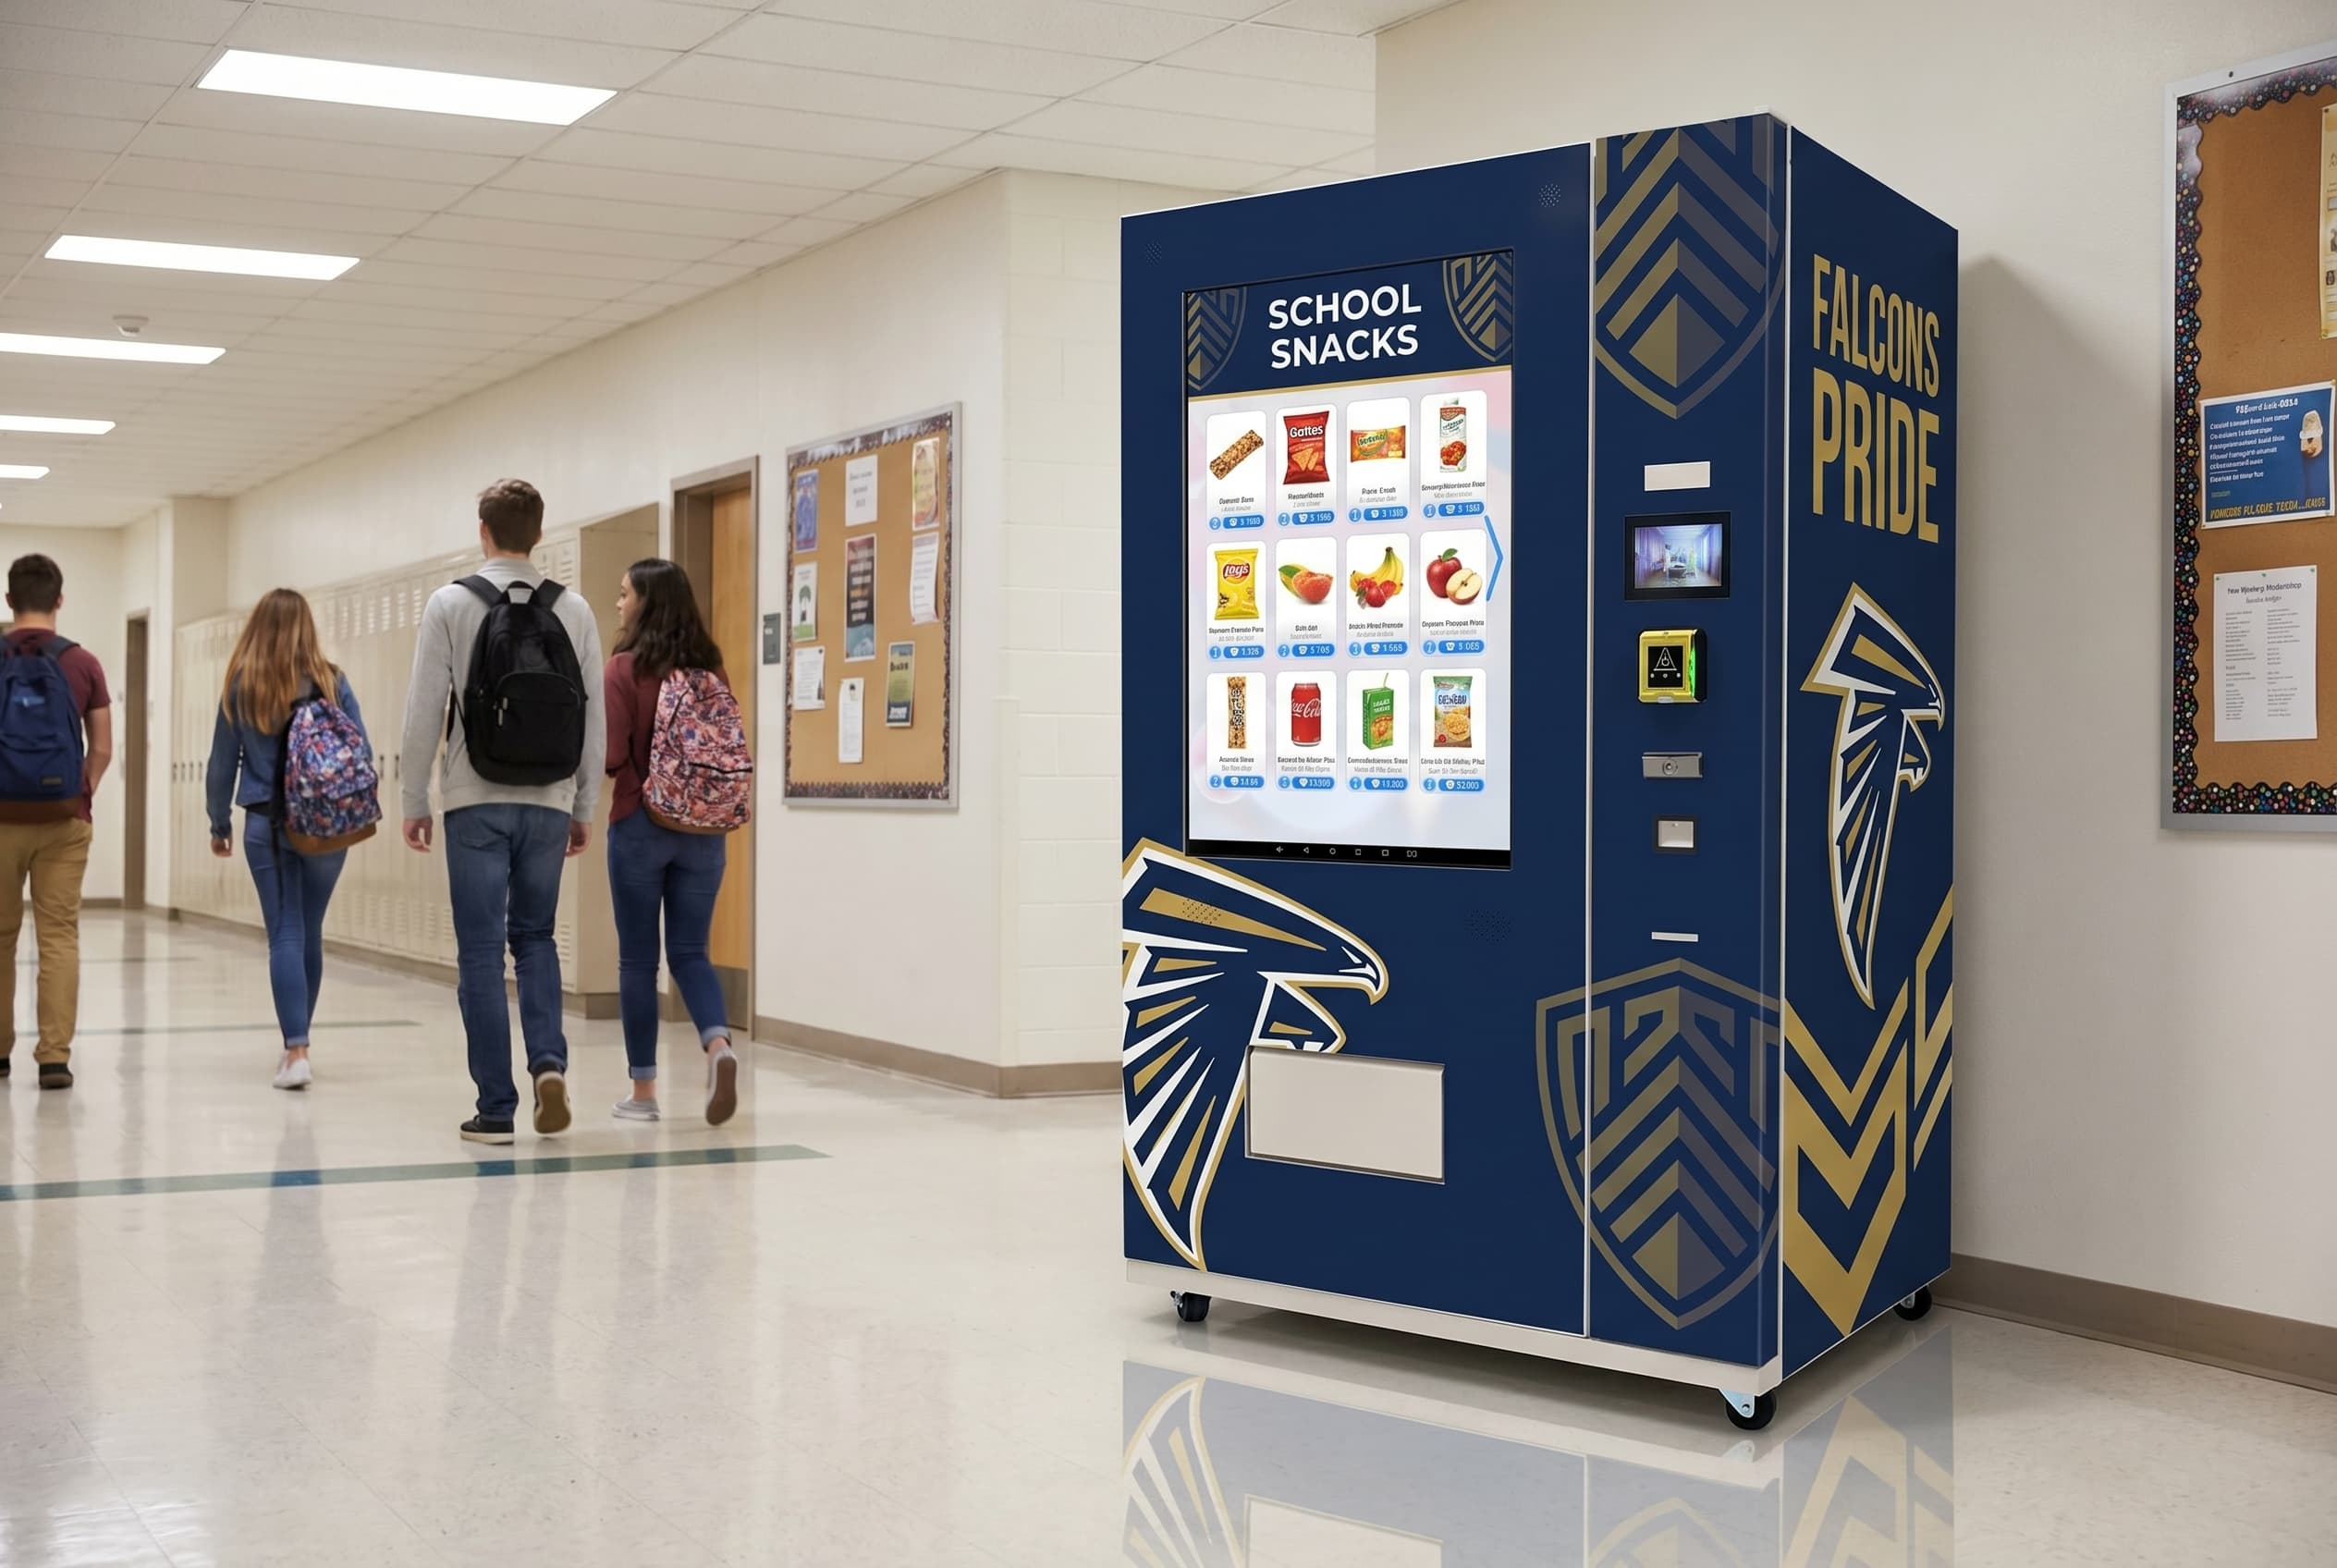
- Branding: graphics and approved screen content applied to a suitable existing machine.
- Configuration: an available machine format adapted through supported product layouts, dispensing options, or other specified features.
- Bespoke engineering: a project that requires development beyond an existing configuration.
None is automatically better. If an available format handles the products and fits the site, a new cabinet design may add cost and complexity without improving the customer experience.
Mechanism selection belongs in this conversation. Coils, belts, elevator delivery, and compartments serve different product-handling needs. No mechanism is the universal answer for every product, and gentle handling should be validated with samples rather than assumed from a mechanism name.
Browse the vending machines for sale to start the format discussion, then confirm which configuration supports your actual requirements.
What to have before moving on: a proposed format, product layout, and written list of included features, options, and exclusions.
4. Specify the software, payment, and branding work
The customer-facing screen is only part of the software brief. Discuss the product catalog, payment flow, operator access, reporting, connectivity, and any requested integrations.
If your project needs employee credentials, an external ordering system, or a custom interaction, ask for a clear feasibility and scope review. A feature available on one platform should not be assumed available on every machine.
Prepare product names, prices, descriptions, images, and any required ingredient or allergen information. Confirm who supplies and approves this material, who configures it, and who will maintain it after launch.
For the exterior, use the approved machine templates and keep service openings, ventilation, readers, and required labels clear. The vending machine graphics options can help you plan the visual treatment, but artwork should follow the confirmed hardware dimensions.
DMVI's standard-machine payment terminal, annual software license, shipping, wrap, and selected topper are separately priced and payable upfront where applicable. Confirm customization, installation, training, support, renewals, and any third-party charges in the itemized quote. They are not automatically bundled into an all-inclusive offer.
What to have before moving on: an approved software and artwork scope, payment setup responsibilities, and an itemized quote.
5. Agree on testing and approval criteria
Testing is most useful when everyone knows what a successful result looks like. Ask how the proposed machine will be evaluated with representative products and what evidence will be available for review.
A practical acceptance checklist can cover:
- Correct product selection and delivery for the agreed assortment.
- Package condition after dispensing and access to the collection area.
- Payment completion and the agreed response to a failed transaction.
- Product information, pricing, and screen content.
- Relevant operator reports, alerts, and account access.
- Loading, cleaning, and routine service access.
- Temperature performance where temperature-controlled equipment is specified.
These are items to agree for the project, not a claim that every machine includes every feature. Record any remaining issues and who will resolve them.
Keep the tested packaging consistent with the planned launch stock. A supplier's change to a box, bottle, or pouch can affect fit and dispensing even if the product itself has not changed.
What to have before moving on: documented acceptance criteria, a record of the agreed checks, and approval of the final configuration.
6. Plan delivery and the operating handoff
Production completion, shipment, delivery, and being ready to serve customers are different milestones. Ask for the current project schedule and the assumptions behind it rather than relying on a generic lead-time promise.
Before shipment, confirm the delivery service, unloading arrangements, placement responsibilities, site readiness, and any installation or training included in the order. Arrange the opening inventory, operator accounts, customer-support contact information, and a restocking routine.
The final handoff should make it clear who to contact for technical help, what the warranty covers, which tasks belong to the operator, and how any separately quoted service is arranged. Do not assume on-site service is included in every geography.
What to have before launch: a named operator, a ready location, stocked and checked equipment, and a clear service plan.
Start with the information that makes the project possible
You do not need every detail resolved before the first conversation. A product list, packaging samples, site photographs, and a clear goal are a useful starting point.
Bring those inputs to DMVI so the discussion can focus on a machine that fits the job—and on exactly what needs to be confirmed before you commit to the build.
Discuss your project with DMVI
Bring your product samples, site requirements, and intended customer experience to the conversation.