Wall-Mounted Vending Machines: A Site-Survey and Installation Handoff Checklist
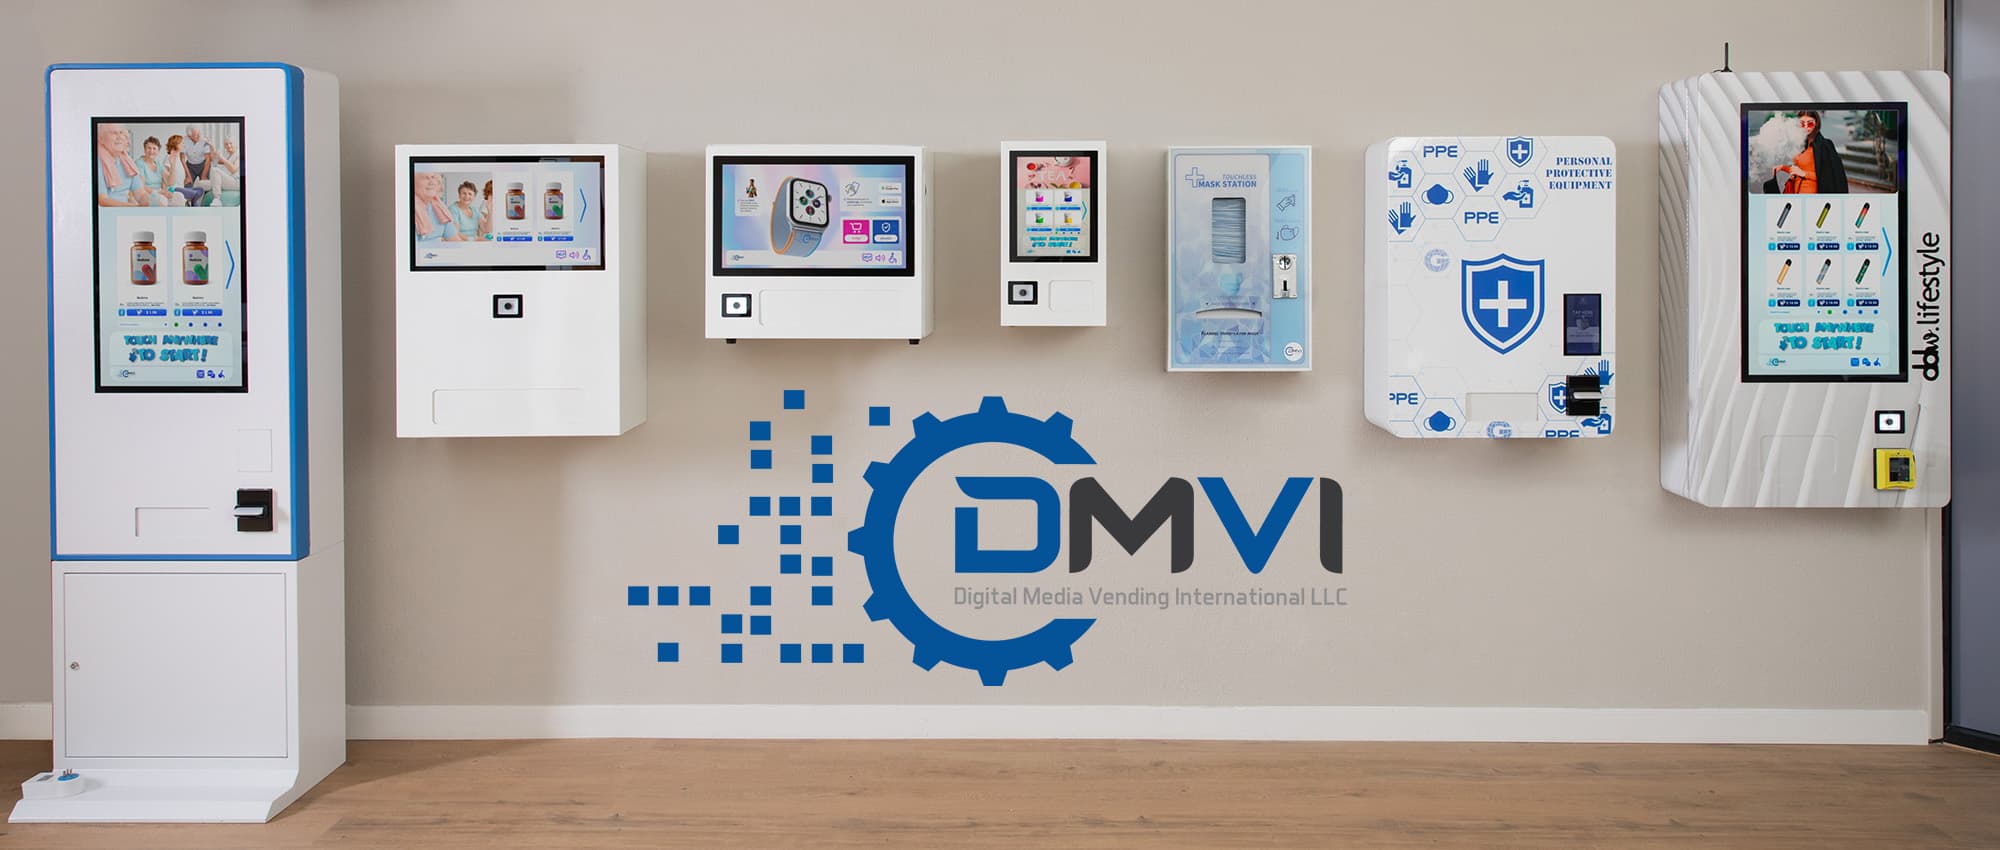
A wall-mounted vending machine can be a useful option when a freestanding cabinet does not suit a location. But an empty section of wall is not yet an approved installation site. The wall, mounting system, customer approach, service access, and utilities must work together for the selected machine.
This checklist is for the step between choosing a format and scheduling delivery. It helps an operator assemble a site-review package and assign responsibility for the work. It is not an anchoring design or a substitute for the manufacturer's installation instructions and site-specific professional review.
For an introduction to the format, see wall-mounted touchscreen vending machines. The task here is narrower: establish what must be confirmed before your particular machine goes on your particular wall.
1. Identify the exact cabinet and intended products
Request the current installation drawing and technical information for the quoted model and configuration. A photograph, a similar installation, or another model's dimensions is not sufficient.
Your review package should include:
- Cabinet dimensions, empty weight, and manufacturer-specified maximum installed load.
- Mounting locations, approved mounting system, and installation instructions.
- Door opening, ventilation, and servicing requirements.
- Power, connectivity, and environmental requirements.
- Proposed product list, packaged dimensions, weights, and loading arrangement.
Ask the supplier to identify the dispensing mechanism for that configuration. Do not assume every wall unit uses a conveyor, elevator, or drop-free delivery. A product fitting inside a cabinet does not prove that it can be dispensed reliably.
Arrange sample testing with the actual retail packaging. Record which package and loading arrangement passed, then repeat the review if a supplier changes the package shape or material.
2. Have the wall and mounting design reviewed together
Give the machine information to a qualified installer and, where required, a structural professional. They need to assess the actual construction, condition, mounting locations, and load path—not simply describe the wall as drywall, masonry, or concrete.
Record any concealed utilities or building features that could conflict with the proposed work. Identify whether reinforcement, investigation, or additional drawings are required before installation can proceed.
Do not select anchor sizes from a generic online checklist. Suitable fixings and their installation depend on the machine's requirements and the verified substrate. A wall that supports a display or sign is not automatically suitable for a loaded vending cabinet.
The useful output is a documented mounting approach and a named person responsible for approving and carrying it out. If that cannot be established, review another location or machine format before booking delivery.
3. Draw the customer and service space—not just the cabinet
Wall mounting removes the need for a floor-standing cabinet base, but it does not remove the machine's projection into the room or the space needed to use it.
Show these areas on the proposed layout:
| Area | What to check |
|---|---|
| Customer approach | Space to approach, select, pay, and retrieve a purchase |
| Circulation | Remaining route width, nearby door swings, queues, and emergency access |
| Controls and retrieval | Reach, visibility, and usability for the intended users, including wheelchair users |
| Open cabinet | Door swing and room for a technician to work |
| Replenishment | Safe access with stock, carts, packaging, and cleaning supplies |
Have the responsible site professional review applicable accessibility, protruding-object, and egress requirements. A convenient height for a standing adult is not a complete accessibility assessment. Nor does the absence of legs prove that a corridor remains unobstructed.
Inspect the space during normal activity as well as when it is empty. A location that looks generous before opening may become crowded during hotel check-in, class changes, or an event.
4. Confirm utilities and the operating environment
Match the proposed electrical supply to the exact equipment requirements. Have electrical work assessed and performed by a qualified professional as applicable. Plan the cable route so it does not obstruct customers, servicing, or doors.
Check connectivity at the intended installation point with the proposed connection method. Confirm any building-network permissions and agree how payment or connectivity failures will be handled. Do not assume offline transactions are supported.
Confirm the permitted temperature, humidity, and exposure conditions for the quoted machine. Indoor suitability does not establish outdoor or wet-area suitability. A covered walkway may still expose equipment to wind-driven rain or temperature changes.
Also record the building's actual opening hours. A machine inside a locked venue cannot provide public access after the building closes simply because it is unattended.
5. Assign approvals, costs, and responsibilities
Obtain the property owner's or authorized manager's permission and identify any permits or inspections required by the applicable authorities. Do not promise that wall mounting is always a minor, permit-free alteration.
Use a written responsibility list covering:
- Site assessment, structural review, and any reinforcement.
- Electrical and network preparation.
- Delivery, unloading, lifting, and mounting.
- Setup, product testing, and operator training.
- Routine maintenance and the response to a failed installation check.
- Eventual removal and any required wall restoration.
Confirm which services the supplier or installer is providing, their geographic coverage, and the quoted charges. Do not assume DMVI™ installation, structural work, or training is included in every equipment purchase. A placement agreement should also identify who is responsible for ongoing site access and any required insurance documentation.
6. Check the delivery route and handoff plan
Walk the route from the unloading point to the proposed wall. Verify the delivery arrangement, access times, door and elevator constraints, protection of finished surfaces, and space for installation equipment. The final cabinet position is only one part of getting the machine into place.
Before the installation appointment, assemble a single handoff package:
| Record | Completion condition |
|---|---|
| Model and configuration | Matches the order, drawings, and installation instructions |
| Site layout | Customer access, service space, and circulation reviewed |
| Structural and utility work | Responsible parties confirm required preparation is complete |
| Permissions | Property authorization and applicable approvals recorded |
| Product test | Actual packages and loading arrangement accepted |
| Delivery and service scope | Access, equipment, charges, and responsibilities agreed |
At handoff, have the installer complete the checks required by the manufacturer. Verify the installed configuration, demonstrate approved products dispensing, test the supported payment workflow, and confirm customer support and replenishment procedures. Record unresolved items and who will close them before opening the machine for use.
Budget for the complete installation
Compare the equipment quote with site-preparation and operating costs. Include stock, delivery, mounting work, electrical work, payment processing, connectivity, software, servicing, and any venue charges relevant to the installation.
DMVI's standard machine financing requires a 25%–50% machine-value deposit. Shipping, the payment terminal, annual software license, wrap, and selected topper are separately priced and paid upfront as applicable, along with applicable taxes and quoted extras. The quoted interest rate is 8%–15%, depending on repayment ability and other approval conditions. The remaining machine balance is paid in 12 monthly payments beginning 30 days after shipment.
The written quote and agreement specify the interest calculation, total charge, and payment amounts. Financing is discretionary; a UCC filing applies and a personal guarantee may be required. DMVI no longer offers all-inclusive leases. The AI fridge program is separate and does not inherit these standard terms.
Start with the site-review package
Before ordering, bring together the location photographs, layout, wall information, product samples, and intended operating hours. Contact DMVI to review a machine configuration and request the information your site professionals need. The goal is a documented installation plan, not an assumption that a blank wall is ready.
Discuss your project with DMVI
Bring your product samples, site requirements, and intended customer experience to the conversation.